Secure remote control raspberry pi has become a buzzword in the tech world today. With more people adopting remote work and IoT solutions, the need for a secure setup is more important than ever. Whether you're a hobbyist or a professional developer, securing your Raspberry Pi remotely is not just a good idea—it's essential. So, let's dive right in and explore how you can make your setup hacker-proof while still enjoying the convenience of remote control.
Think about it, Raspberry Pi is like a tiny powerhouse that can run everything from home automation to complex server applications. But here's the thing—if you're not careful, it can also become an open door for cybercriminals. That's why we're breaking down everything you need to know to keep your Pi secure when controlling it from afar.
Now, don't worry if you're new to all this. We'll walk you through step by step, from setting up basic security measures to advanced configurations. By the end of this guide, you'll have the confidence to manage your Raspberry Pi remotely without losing sleep over security threats.
Read also:Smoking Meat At Home Recipes From Global Smoke
Understanding Secure Remote Control Raspberry Pi
Let's start with the basics. What exactly does "secure remote control raspberry pi" mean? Simply put, it's about setting up your Raspberry Pi in a way that allows you to control it from anywhere while keeping it safe from unauthorized access. Imagine being able to monitor your home security system or tweak your server settings without having to physically touch the device—sounds cool, right?
Why Security Matters in Remote Control
Here's the deal: when you connect your Raspberry Pi to the internet, you're basically inviting potential threats into your network. Hackers love devices like these because they're often overlooked in terms of security. So, securing your remote control setup isn't just about convenience—it's about protecting your data, your privacy, and even your finances.
Here are some stats to consider: According to a recent report by Symantec, IoT devices are among the most targeted by cybercriminals. And guess what? Raspberry Pi falls under that category. So, yeah, it's not just paranoia—it's reality.
Common Threats to Raspberry Pi
Before we get into the solutions, let's talk about the threats. Some of the most common risks include:
- Brute force attacks: Hackers trying to guess your password repeatedly.
- Malware infections: Harmful software that can take over your device.
- Unsecured SSH connections: Leaving your SSH port wide open for anyone to access.
- Default credentials: Using the default username and password that come with the device.
These threats might sound scary, but don't worry. With the right precautions, you can minimize the risks and enjoy the benefits of remote control without the headaches.
Setting Up Secure SSH for Raspberry Pi
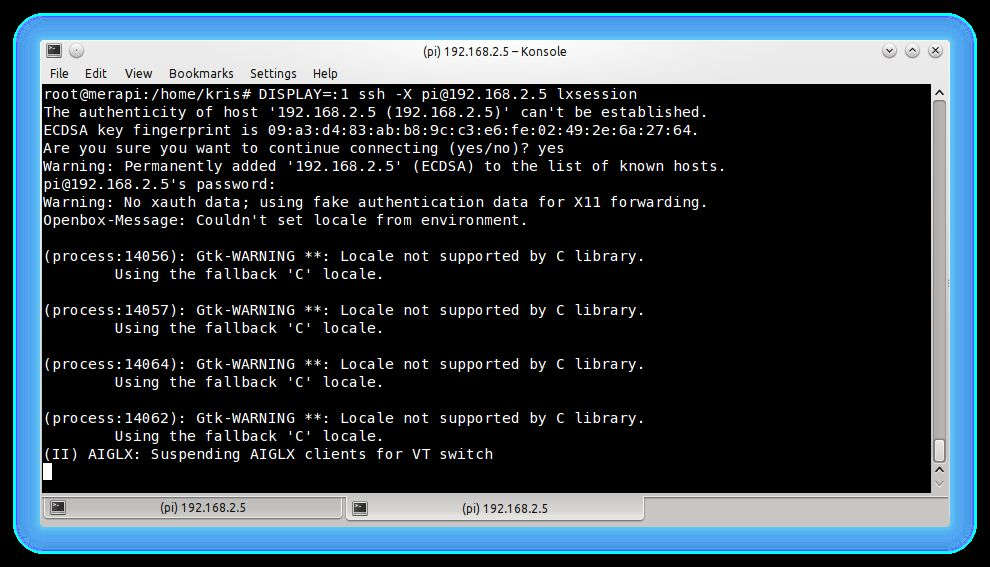
SSH (Secure Shell) is one of the most popular ways to control your Raspberry Pi remotely. It allows you to connect to your device via a terminal and execute commands as if you were sitting right in front of it. But here's the catch: if you don't set it up properly, SSH can become a weak point in your security.
Read also:Halle Berry Celebrates 57th Birthday With Daughter Nahla And Boyfriend Van Hunt
Enabling SSH on Your Raspberry Pi
The first step is to enable SSH on your Raspberry Pi. Here's how you do it:
- Boot up your Raspberry Pi and log in.
- Open the terminal and type
sudo raspi-config. - Navigate to "Interfacing Options" and select "SSH".
- Choose "Yes" to enable SSH and then reboot your Pi.
That's it! SSH is now enabled on your device. But hold up—this is just the beginning. There's more you need to do to secure it properly.
Changing Default SSH Credentials
One of the biggest mistakes people make is using the default username and password that come with the Raspberry Pi. By default, the username is "pi" and the password is "raspberry". Guess what? Hackers know this too. So, the first thing you should do is change these credentials.
To change the password, open the terminal and type:
sudo passwd pi
Then, follow the prompts to set a new password. Make sure it's strong and unique—no "123456" or "password" nonsense here!
Using SSH Keys for Authentication
Passwords are great, but they're not foolproof. That's why using SSH keys is a much better option. SSH keys are like digital keys that allow you to log in without needing a password. Here's how you set them up:
Generating SSH Keys on Your Computer
First, you need to generate an SSH key pair on your computer. Open your terminal and type:
ssh-keygen -t rsa -b 4096
This will create a public and private key. The public key will go on your Raspberry Pi, while the private key stays on your computer. Keep the private key safe—losing it means losing access to your Pi.
Adding the Public Key to Your Raspberry Pi
Now, you need to copy the public key to your Raspberry Pi. There are a couple of ways to do this, but the easiest is using the ssh-copy-id command:
ssh-copy-id pi@your-pi-ip-address
Replace "your-pi-ip-address" with the actual IP address of your Raspberry Pi. Once this is done, you should be able to log in to your Pi without needing a password.
Securing Your SSH Connection
Now that you've set up SSH keys, it's time to take things a step further and secure your SSH connection. Here are some tips:
Changing the Default SSH Port
By default, SSH runs on port 22. This makes it easy for hackers to find and target. To make things harder for them, you can change the port to something less obvious. Here's how:
- Open the SSH config file by typing
sudo nano /etc/ssh/sshd_config. - Find the line that says "Port 22" and change it to a different number (e.g., 2222).
- Save the file and restart the SSH service with
sudo service ssh restart.
Remember to update your firewall rules to allow traffic on the new port.
Disabling Password Authentication
Since you're using SSH keys, you don't really need password authentication anymore. Disabling it will add an extra layer of security. Here's how:
- Open the SSH config file again.
- Find the line that says "PasswordAuthentication yes" and change it to "no".
- Save the file and restart the SSH service.
Now, only devices with the correct SSH key can access your Raspberry Pi.
Firewall and Port Security
A firewall is like a digital bouncer that controls who gets in and out of your network. Setting one up for your Raspberry Pi is a must if you want to keep it secure.
Installing UFW on Raspberry Pi
UFW (Uncomplicated Firewall) is a user-friendly firewall tool that's perfect for beginners. To install it, type:
sudo apt install ufw
Once it's installed, you can allow SSH traffic by typing:
sudo ufw allow ssh
If you changed the SSH port, replace "ssh" with the new port number. Finally, enable the firewall with:
sudo ufw enable
Regular Updates and Backups
Keeping your Raspberry Pi updated is crucial for maintaining security. New vulnerabilities are discovered all the time, and updates often include patches to fix them.
Updating Your Raspberry Pi
To update your Raspberry Pi, open the terminal and type:
sudo apt update && sudo apt upgrade
Do this regularly to ensure your device is running the latest software.
Backing Up Your Data
Even with all the security measures in place, accidents can happen. That's why backing up your data is a smart move. You can use tools like Timeshift or rsync to create regular backups of your Raspberry Pi.
Monitoring and Logging
Knowing what's happening on your Raspberry Pi is key to catching potential threats early. Setting up logging and monitoring tools can help you stay on top of things.
Setting Up Logwatch
Logwatch is a tool that analyzes your system logs and sends you a summary of what's going on. To install it, type:
sudo apt install logwatch
You can configure it to send you daily reports via email, so you're always in the loop.
Advanced Security Tips
If you're feeling adventurous, here are some advanced tips to take your security to the next level:
- Use fail2ban to block repeated login attempts.
- Set up a VLAN to isolate your Raspberry Pi from other devices.
- Enable two-factor authentication for added security.
Conclusion: Stay Safe, Stay Secure
There you have it—everything you need to know to secure your Raspberry Pi for remote control. By following the steps in this guide, you'll be able to enjoy the convenience of remote access without compromising your security.
So, what are you waiting for? Get out there and secure your setup. And don't forget to share this article with your friends who might find it useful. Together, we can make the world of IoT a safer place!
Table of Contents